How to Create a Crypto Wallet with an API: 2026 Guide
Learn how to create crypto wallets through an API: custody choices, key security, address design, webhooks and a step-by-step build plan for developers.
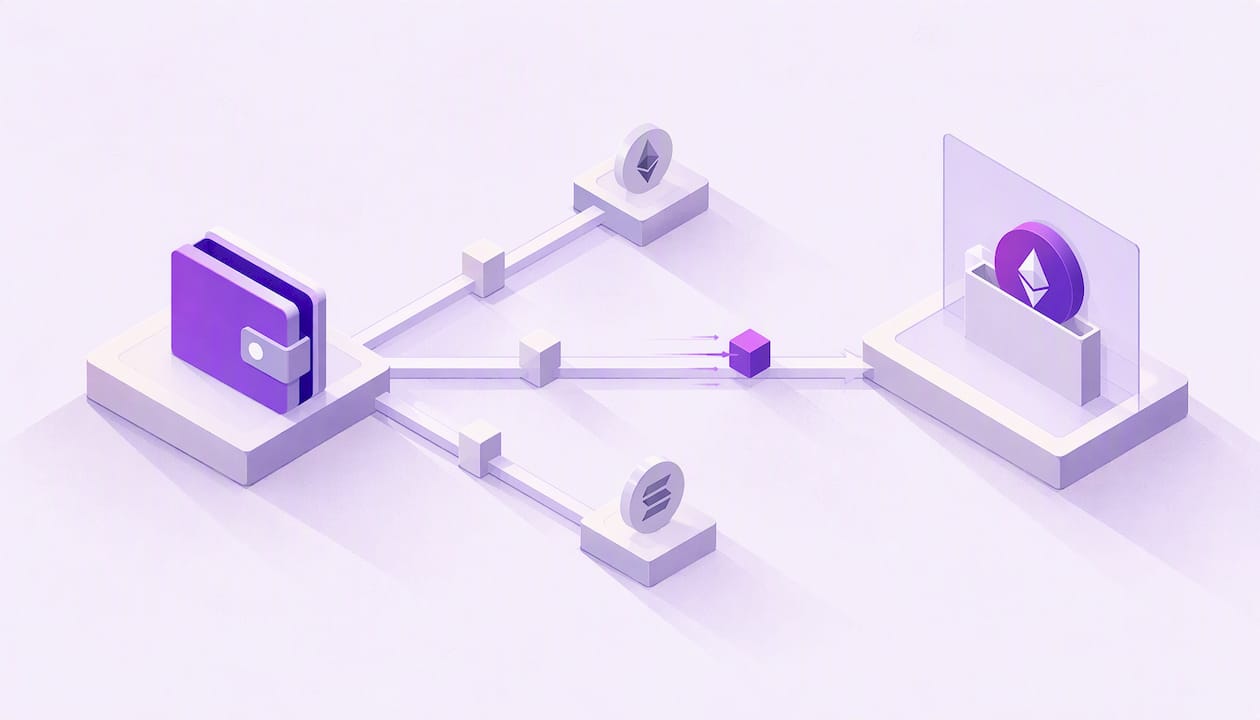
To create a crypto wallet with an API, you send one authenticated request to a service that generates a key pair, stores the private key, and returns a public address you can show to a user. The hard part is not that call. It is deciding who holds the keys, how you secure the credentials around them, and how you learn when money arrives. This guide walks through all three, with the trade-offs a production team has to settle before launch.
TL;DR
- A wallet API generates keys and returns an address. Your real design choices are custody, key storage and payment detection.
- Give each user or each invoice its own address, and record every incoming transaction hash as a unique key in your database.
- Use signed webhooks instead of polling, verify every signature, and make your handler idempotent.
- Key generation must use a cryptographically secure random source, and production keys belong in non-exportable storage such as an HSM.
- A unified multi-chain API saves you from running nodes and maintaining a separate integration per network.
Table of Contents
- What a wallet API actually does
- Decide on custody before you write code
- Step by step: creating your first wallet through an API
- One address per user or one per invoice?
- Key security: where wallet projects really fail
- Detecting payments with webhooks
- Multi-chain realities you will hit
- Build vs. buy: an honest comparison
- Our perspective
- Try it on your own stack
- Launch checklist
- FAQ
- Sources
What a wallet API actually does
A blockchain wallet is software that manages keys. The NIST overview of blockchain technology describes it as a tool that can store private keys, public keys and addresses, and that helps users work with the assets those keys control. A wallet API moves that job from the user’s device to your backend.
In practice, a wallet API covers four jobs:
- Create: generate a new key pair and return the address for a given network.
- Read: report balances and transaction history for that address.
- Send: build, sign and broadcast a transfer, including a fee estimate.
- Notify: tell your application when something happens to the address.
The Bitcoin developer guide on payment processing makes a point that applies to every chain: before you request a payment, your application must create an address or get one from somewhere else, and each step of the process can be outsourced to third-party APIs. Outsourcing is a legitimate engineering choice. It trades control over infrastructure for speed and fewer moving parts.
Decide on custody before you write code
Every wallet integration starts with one question: who can sign a transaction?
| Model | Who holds the private key | Typical use | Main burden |
|---|---|---|---|
| Your users hold keys | The user, in their own app or device | Self-custody products, login with a wallet | You cannot move funds or recover accounts |
| API-managed (hosted) wallets | The API provider stores the keys on your behalf, and you authorize actions | Payment acceptance, deposit addresses, payouts, in-app balances | You must secure API credentials and know your regulatory position |
| Your own key infrastructure | You, in your own HSM or signing service | Large treasuries, strict internal policy | You run and audit everything yourself |
Most startups and agencies building payment features want the middle row. Users deposit to addresses your app controls, your backend sends payouts, and nobody has to run a node or write signing code for six networks.
Custody can carry legal consequences that depend on your country and business model. If you will hold funds for customers, talk to a lawyer who knows money transmission and virtual asset rules in your jurisdiction before you launch. This article covers the engineering side only.
A note on account abstraction
If you build on Ethereum you will meet smart contract wallets. Ethereum’s account abstraction roadmap describes letting accounts carry programmable security and better user experiences, instead of relying on a single raw private key. That can enable features such as sponsored gas and flexible recovery. It is a strong fit for consumer apps where users own their wallets. For a backend that creates thousands of deposit addresses and sweeps funds, the classic externally owned account is still the simpler model, and it is the one that works the same way across Bitcoin, Tron and EVM chains. Ethereum’s own documentation explains the two account types, externally owned accounts and contract accounts, if you need a refresher.
Step by step: creating your first wallet through an API
The exact endpoints differ by provider, so read the reference of the API you choose. The sequence below stays the same.
1. Get credentials and keep them server-side
Sign up, get an API key and, if the provider uses request signing, a secret. These credentials can move money, so treat them like database passwords. Load them from a secrets manager, never from client-side code, never from a public repository. OWASP’s guidance for SDK testing recommends checking that credentials are scoped and revocable, which is a good rule for any integration: if a key leaks, you should be able to kill it without rebuilding your app.
2. Create the wallet or address
Call the create endpoint for the network you need. You get back an address, and usually an identifier your system can use to refer to the wallet later. Store three things in your own database right away:
- the address,
- the network it belongs to,
- the internal user, order or invoice it is tied to.
Do not store the private key yourself unless you have built the secure storage to hold it. With a hosted model, that is the provider’s job.
3. Show the address and guard against mistakes
Display the address with its network name in plain words. The most common support ticket in crypto payments is a user who sent a token over the wrong network. A USDT address on Ethereum and one on Tron look nothing alike, but users still make mistakes. Add the network label next to the QR code, and consider a short confirmation step before showing it.
4. Subscribe to events for that address
Register a webhook so your backend learns about deposits without polling. The next section explains how to build the receiving end safely.
5. Test on a test network first
Run the full loop on a testnet: create an address, send test funds, receive the event, credit the account, then send a payout. Only then switch the credentials and network to mainnet, and begin with small amounts.

One address per user or one per invoice?
Reuse is the shortcut that causes accounting trouble later. The Bitcoin developer guide covers the standard approach of giving each payment request its own address, so that an incoming payment maps cleanly to the order that caused it.
The common patterns:
- One address per invoice. Cleanest reconciliation. Best for checkout flows with an expected amount and an expiry time.
- One address per user. Simple for deposit features, such as a balance top-up. Every incoming transfer credits the same account.
- Pooled address with memo or tag. Only for networks and assets that support it, and harder to get right.
If you generate addresses from a hierarchical deterministic scheme, the structure is standardized. BIP 44 defines the path layout of purpose, coin type, account, change and index, which lets one seed produce a predictable tree of addresses. A hosted API normally handles this for you, but knowing the layout helps when you audit or migrate.
Key security: where wallet projects really fail
The network protocol is rarely what gets a wallet product hacked. OWASP’s smart contract security group points out that the greatest risk is the randomness and storage of private keys. A predictable seed leads to a silent, total compromise, because an attacker can rebuild the keys offline. Their testing advice is to confirm that all key generation uses the platform’s cryptographically secure random number generator.
Three practical rules follow.
Never roll your own key generation. Use a vetted library or a provider whose job is to do this. A Math.random() seed is a disaster waiting for a date.
Keep signing keys in non-exportable storage. NIST’s wallet guidance points to hardware-protected modules that prevent a host processor from extracting secret keys. For anything you run yourself, that means an HSM or a similar secure element, not environment variables or a database column. If you want to understand how hardware-backed key protection works in practice, this guide on protecting a root key with an HSM (in Portuguese) explains the principles using certificate authority keys as the example. The same logic applies to wallet signing keys.
Protect the human side of access. Hardware security keys for the admin accounts that can create API keys, change webhook URLs or approve payouts remove a large class of phishing risk. Separate roles, so the person who deploys code cannot also release funds.
For day-to-day API hygiene, our own checklist of security tips for using a blockchain API is a good companion.

Detecting payments with webhooks
Creating the address is half the job. You also need to know when someone pays it. Polling every address on a schedule wastes requests and delays confirmation. Webhooks push the event to you the moment the provider sees it. We walk through a full flow in how to process deposits automatically with webhooks.
The receiving endpoint is where security mistakes happen, so build it carefully. The OWASP Webhook Security Cheat Sheet is the reference to follow, and its main points are these:
- Verify the signature on every delivery. Recompute the HMAC over the raw body with your shared secret and compare it with the signature header. Use a constant-time comparison to avoid timing attacks.
- Require HTTPS. A signature proves who sent the message but does not encrypt it, so anyone on the network path can read a plain HTTP delivery.
- Keep secrets out of the URL. URLs end up in load balancer and proxy logs you may not control. Put authentication in headers.
- Treat events as idempotent. Deliveries can repeat after network retries. A single payment must never be credited twice.
That last point deserves a concrete pattern. Store the transaction hash as a unique, indexed key. The Bitcoin guide’s reconciliation advice, which fits every chain, is to check your database for an existing hash before running any credit logic, instead of trusting that each callback arrives exactly once. In SQL, that is a unique constraint on the hash and an insert that ignores duplicates.
A reliable handler follows this order:
- Read the raw request body before any parsing.
- Verify the HMAC signature. Reject on mismatch.
- Insert the transaction hash. If it already exists, return success and stop.
- Wait for the confirmation count your risk policy requires before crediting funds.
- Credit the account in the same database transaction as the insert.
- Respond quickly with a success code, and push slow work to a queue.
Our page on blockchain webhooks and event notifications shows how this works across supported networks.
Multi-chain realities you will hit
A wallet that works on one chain is easy. A wallet that works on several is where integration cost grows, because each network has its own address format, fee model and token standards.
- Fees. On EVM chains, a token transfer needs the native coin for gas. A freshly created address that receives USDT cannot send it until it also holds some ETH, BNB or MATIC-equivalent for fees. Plan a funding step for payouts and sweeps.
- Tron account activation. Tron addresses behave differently: an unactivated account may not appear on-chain until it receives a small amount of TRX, and TRC-20 transfers consume resources, so test this path early.
- Token standards. ERC-20, BEP-20 and TRC-20 look alike to users but differ in contract calls and event formats. NFTs add ERC-721 on top.
- Decoded data. Raw transaction logs are hex. If your provider returns decoded values, you skip writing ABI parsing for each token.
We cover the difference between node providers, indexers and unified APIs in Blockchain APIs Compared: 6 Types and When to Use Each, and the broader business cases in use cases of a blockchain API.
Build vs. buy: an honest comparison
You can run your own nodes and signing service. Some teams should. Here is how the decision usually breaks down.
| Factor | Running your own stack | Using a unified wallet API |
|---|---|---|
| Time to first wallet | Weeks, per chain | Hours |
| Infrastructure | Nodes, indexers, monitoring for each chain | None on your side |
| Key management | Yours to design and audit | Handled by the provider, with your credentials secured |
| Cost shape | Engineering time and servers | Predictable subscription |
| Control | Total | Within what the API exposes |
If wallets are your product’s core differentiator, or regulation forces you to hold keys in your own environment, build. If wallets are a feature that supports payments, deposits or payouts, the integration time you save is better spent elsewhere.
Our perspective
We see the same pattern with most teams that come to us. They underestimate the plumbing and overestimate the cryptography. Generating a key is a solved problem. What sinks projects is a month spent on node synchronization, one chain’s fee quirks, a webhook handler that credits a deposit twice, or a decoded amount that is off by a factor of ten because of token decimals.
That is why we built Chaingateway as one REST API for several networks, rather than one integration per chain. You create wallets, send token transfers, estimate gas automatically and receive pre-decoded transaction data in the same shape whichever network you use. Requests are HMAC-signed, and webhook notifications tell your backend about payments in real time, so you do not need to run your own nodes or poll.
Our advice is simple. Decide custody first. Give every payer their own address. Make your webhook handler idempotent on day one, not after the first duplicate credit. And test the whole loop on a testnet before a single real coin moves.
— Bitblade
Try it on your own stack
If you want to create wallets, send tokens and get payment notifications across Ethereum, Bitcoin, Tron, Solana, Polygon, BNB Chain and Arbitrum from a single integration, see our Blockchain API. Plans are on the pricing page: Plus costs €49 per month, Pro €99, Premium €249 and Enterprise €499, or choose yearly billing at €490, €990, €2,490 and €4,990 respectively. The service starts with a free trial.
Launch checklist
Before you go live, confirm each item:
- API credentials live in a secrets manager and can be rotated.
- Every address is stored with its network, owner and creation time.
- Your webhook endpoint uses HTTPS, verifies signatures and compares them in constant time.
- A unique constraint on the transaction hash prevents double credits.
- You wait for a confirmation threshold suited to the amount at risk.
- Payout wallets are funded with the native coin needed for fees.
- Admin accounts use strong multi-factor authentication, ideally hardware keys.
- You have written down who can approve payouts and how a leaked key is revoked.
- You have taken legal advice on custody where you hold funds for others.
Sources
- NIST IR 8202: Blockchain Technology Overview
- Payment Processing, Bitcoin Developer Guide
- Account abstraction, ethereum.org
- Ethereum accounts, ethereum.org
- OWASP Smart Contract Security: SDK testing methodology
- NIST SP 800-63C: Subscriber-Controlled Wallets
- OWASP Webhook Security Cheat Sheet
- Derivation Paths, Learn Me A Bitcoin
- How to activate your Tron wallet for TRC20 transfers
Recommended
Frequently asked questions
Yes. A hosted wallet API runs the nodes and signing infrastructure for you and returns addresses through REST calls. You still need to secure your own API credentials and your webhook endpoint, because those are now the doors to your funds.
Usually it is, in the sense that the service stores the keys and your credentials authorize actions. Whether that makes you a custodian in a legal sense depends on whether you hold funds for your customers and on your jurisdiction. Ask a lawyer who handles virtual asset regulation before you launch to the public.
Subscribe to webhook notifications for the address. Verify the HMAC signature, record the transaction hash in a uniquely indexed column, and credit the account only once your confirmation requirement is met. Because deliveries can repeat, the hash check is what keeps you from paying twice.
Per payment gives the cleanest reconciliation, since each address maps to one order. Per user is simpler for balance top-ups. Avoid sharing one address across many payers unless the network supports a memo or tag and you handle it correctly.
In non-exportable storage such as an HSM or a secure element, or with a provider that operates that storage for you. Environment variables, config files and ordinary database rows are not suitable for keys that control real funds.
Ready to build this yourself? Get your API key — 7-day trial, no card required — or see the Blockchain API for the full endpoint reference.